12 Halloween Sugar Cookies That’ll Make Your Kitchen the Neighborhood’s Favorite Stop
October is here, and you know what that means it’s time to turn your kitchen into a spooky sweet factory! Whether you’re planning a Halloween party, need treats for trick-or-treaters, or just want to get into the festive spirit, nothing beats homemade Halloween sugar cookies.
These aren’t your basic round cookies either we’re talking about show-stopping designs that’ll have everyone asking for your recipe.
You’re about to discover 12 amazing Halloween sugar cookie designs that range from beginner-friendly to bakery-level gorgeous. Each one comes with step-by-step tips, decorating tricks, and the exact tools you’ll need to nail the look.
Ready to become the cookie queen (or king) of Halloween? Let’s jump into these wickedly delicious designs that’ll make your house the must-visit stop this October 31st.
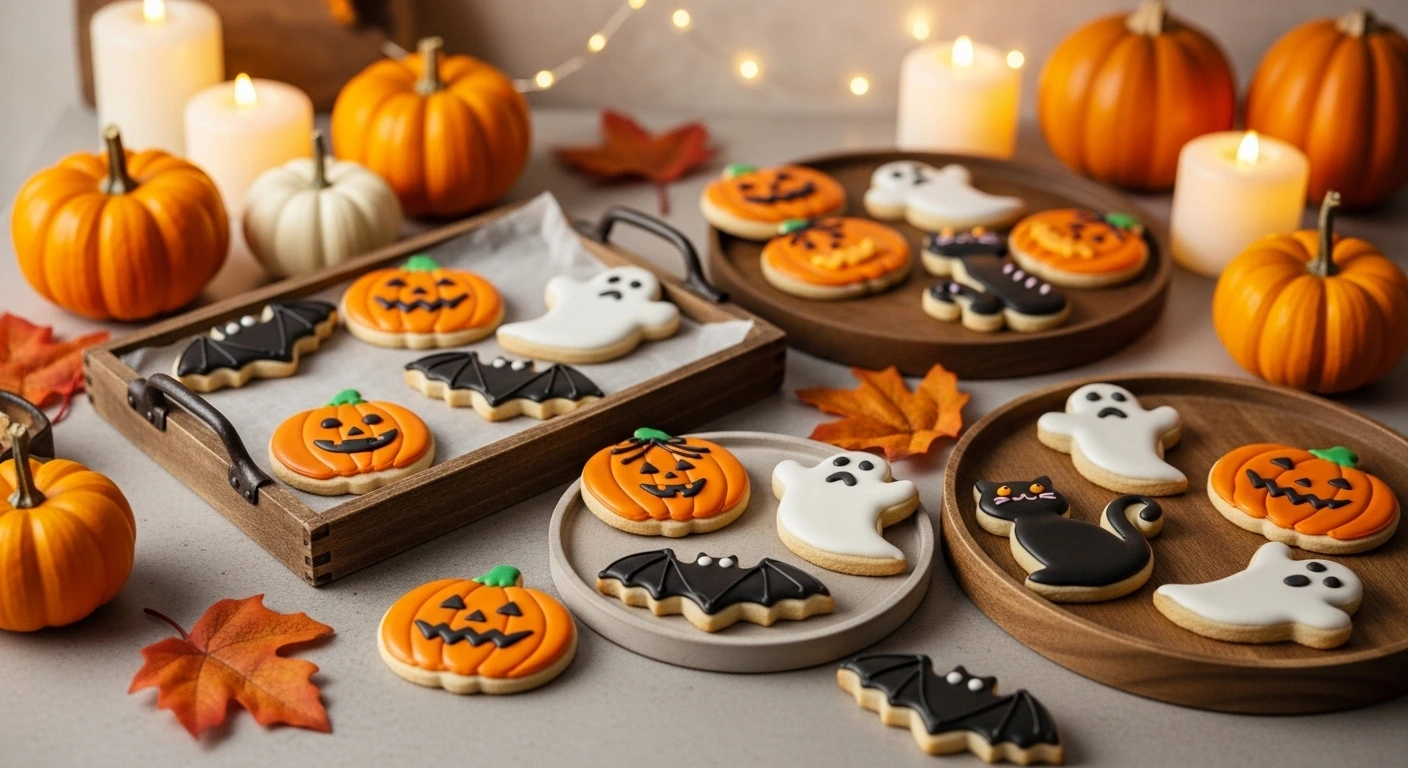
1. Classic Jack-o’-Lantern Sugar Cookies
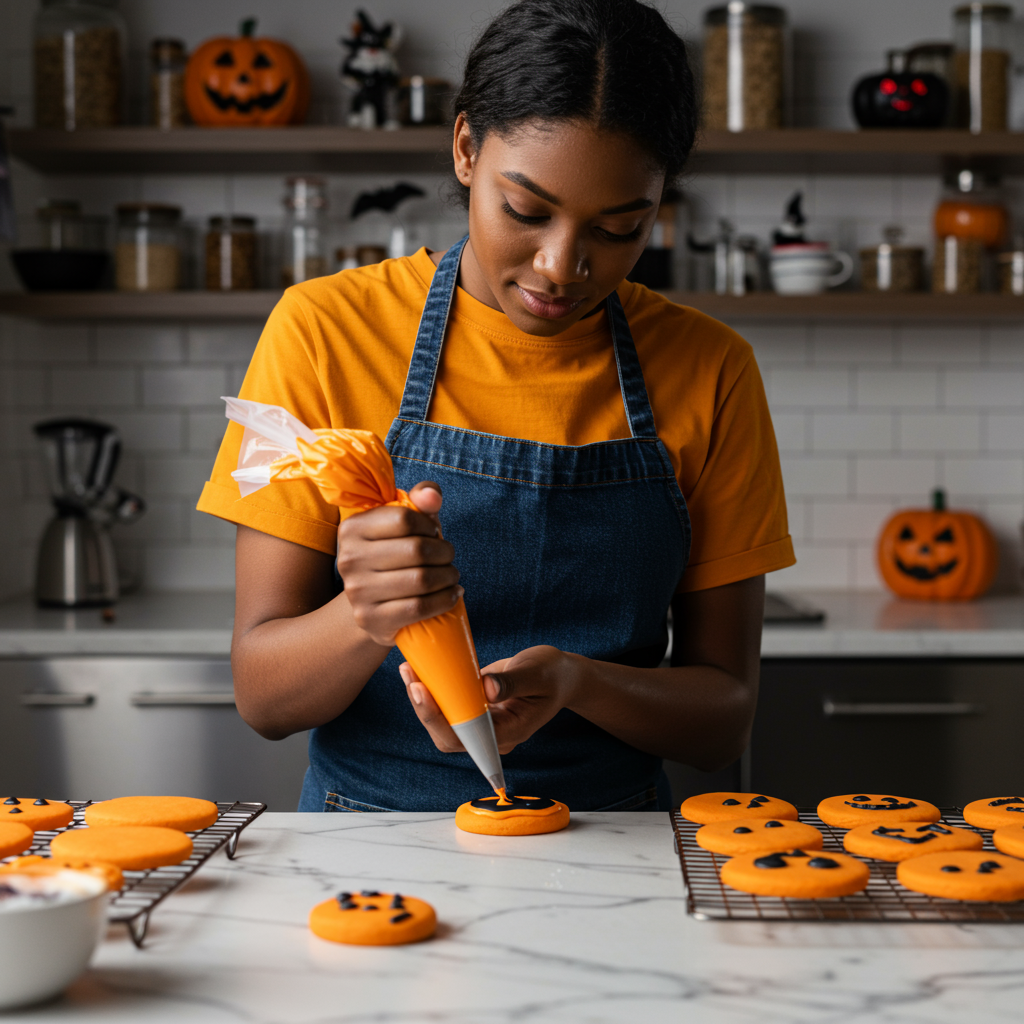
These pumpkin-faced beauties are the perfect starting point for Halloween cookie decorating. The orange base gives you room to play with different facial expressions, from friendly grins to scary scowls, making each cookie totally unique.
Perfect for beginners and kids who want to help with decorating, these cookies work amazing for classroom parties or as your first attempt at royal icing. The simple round shape means you probably already have the cookie cutter, and orange food coloring is easy to find everywhere right now.
Start with your basic sugar cookie dough and use a large round cutter (about 3-4 inches works best). Once baked and cooled, flood with orange royal icing using Americolor Sunset Orange or Wilton Orange gel food coloring. Let that dry completely (about 2-4 hours), then pipe on black royal icing for the face using a #2 tip. Pro tip: sketch your design with a food-safe marker first if you’re nervous about freehand piping.
2. Spooky Ghost Sugar Cookies
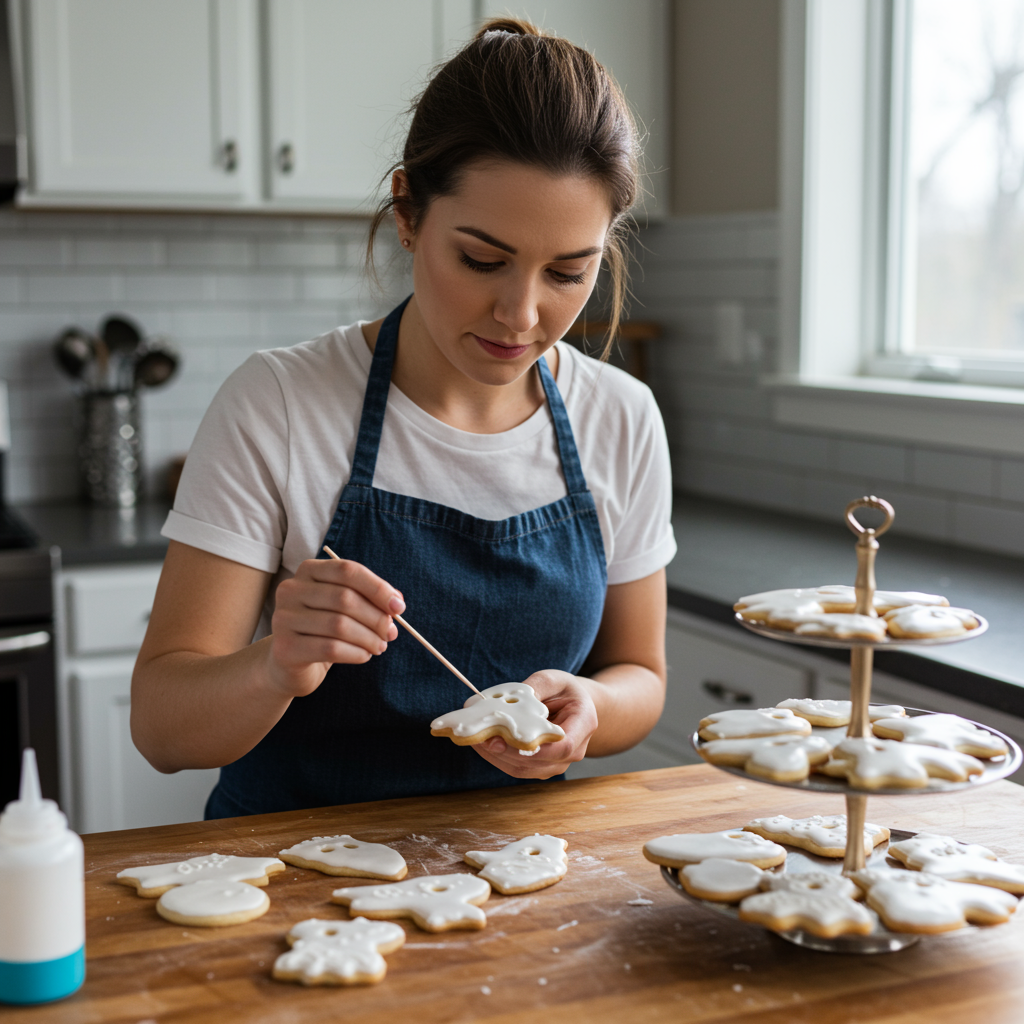
White, wobbly, and absolutely adorable – ghost cookies are having a major moment this Halloween season. These floating friends are surprisingly easy to make but look incredibly impressive when you nail that perfect droopy ghost shape.
These cookies are ideal for anyone who loves the cute side of Halloween rather than the scary stuff. They work perfectly for younger kids’ parties and look amazing displayed on tiered stands. The all-white design also means they’re budget-friendly since you won’t need multiple food coloring bottles.
Use a ghost-shaped cookie cutter or create your own template. The key to perfect ghost cookies is getting that flowing royal icing consistency just right – you want it thick enough to hold the shape but thin enough to create those organic drips. Flood the entire cookie with white royal icing, then immediately use a toothpick to pull small sections downward to create the ghostly flowing effect.
3. Witch Hat Sugar Cookies
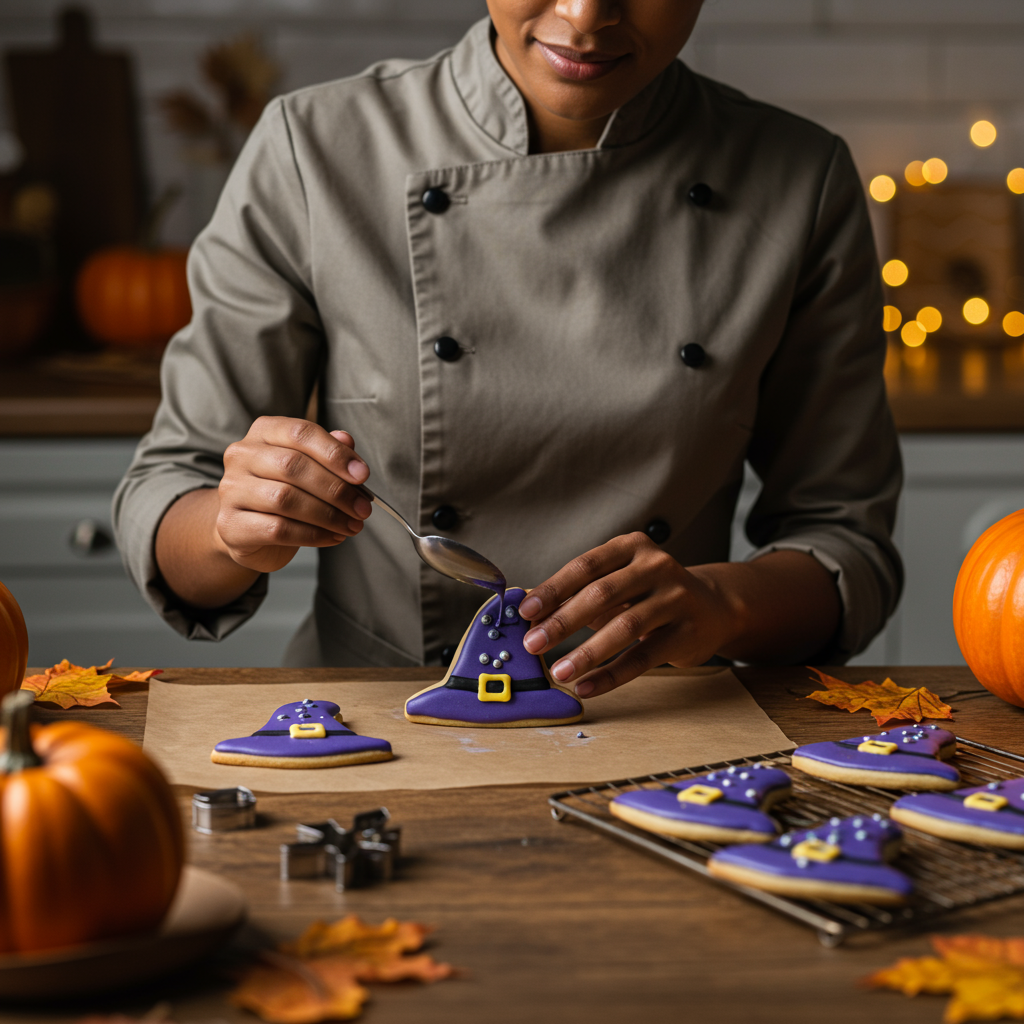
Pointy, mysterious, and surprisingly versatile – witch hat cookies are this year’s breakout Halloween design. Instagram bakers are obsessing over these because they’re simple enough for beginners but fancy enough to impress at adult Halloween parties.
These triangular treats work perfectly for anyone who wants something Halloween-themed but not too kiddy. They’re also great if you’re short on time since the cone shape is quick to decorate and doesn’t require intricate detail work.
Cut your cookies using a triangle or witch hat-shaped cutter. Flood with deep purple or classic black royal icing – Americolor Super Black or Wilton Black gel coloring work best for true black without that muddy look. While the base is still wet, you can add silver or gold pearl dust for a magical shimmer effect.
4. Creepy Crawly Spider Sugar Cookies
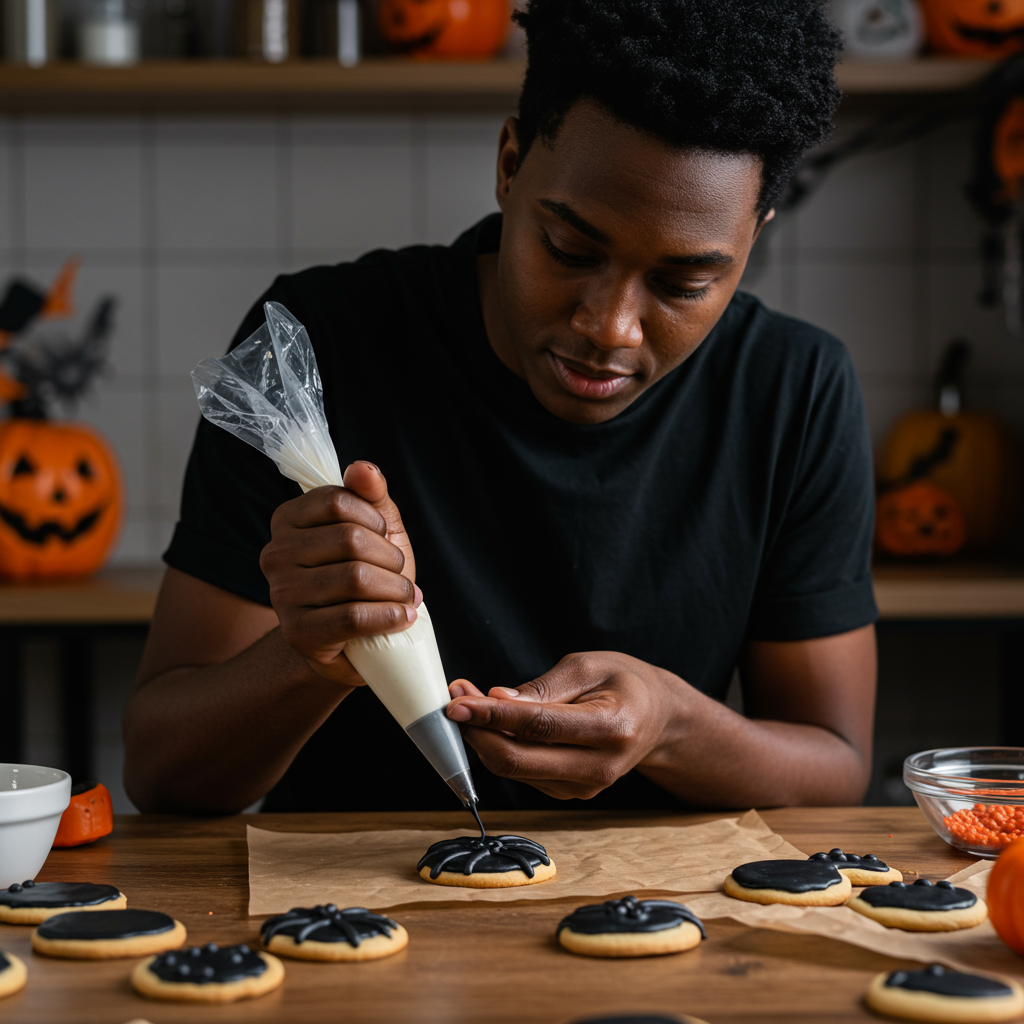
Eight-legged and absolutely trending – spider cookies are everywhere on social media right now. These aren’t your typical cute Halloween treats; they’re designed to give people that perfect little Halloween scare while still being deliciously sweet.
Perfect for anyone who wants to go full spooky this Halloween, these cookies work great for adult parties, haunted house events, or impressing teenagers who think they’re too cool for cute cookies. They’re also surprisingly therapeutic to decorate once you get the hang of the leg piping technique.
Start with round or oval cookies for the spider body. Flood with black royal icing and let dry completely. The magic happens with the legs – use a #2 piping tip to create eight curved legs extending from the body. Work quickly while the icing is still wet to get smooth lines, or let each leg dry before adding the next for more control.
5. Adorable Black Cat Sugar Cookies
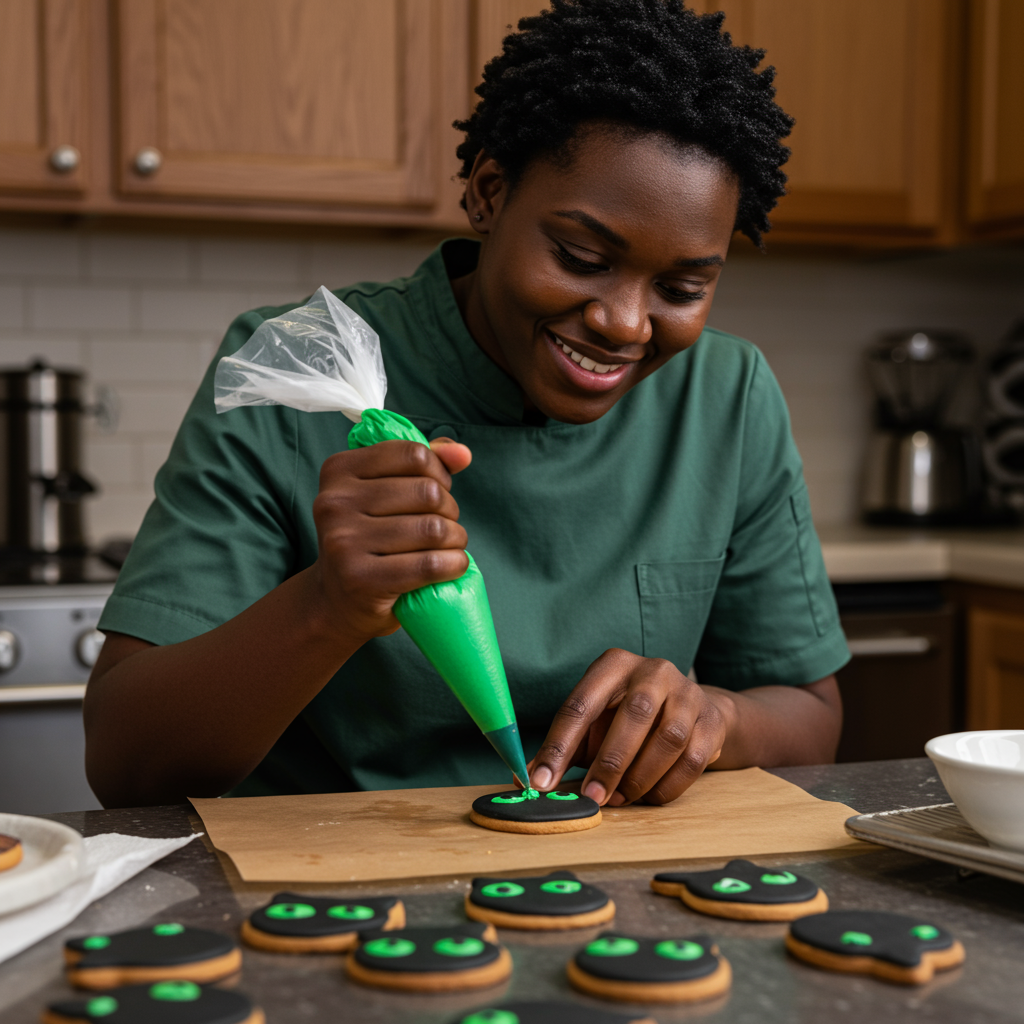
Sleek, sophisticated, and undeniably cute – black cat cookies are purring their way to the top of Halloween cookie trends. These feline friends strike the perfect balance between spooky and sweet, making them ideal for any Halloween gathering.
These cookies appeal to cat lovers year-round but get extra special treatment during Halloween season. They’re perfect for anyone who wants Halloween vibes without going full scary, and they photograph beautifully for social media posts.
Use a cat-shaped cookie cutter or create a simple sitting cat silhouette template. Flood the entire cookie with black royal icing (make sure to use quality gel coloring for deep, rich color). The key detail that makes these special is in the eyes – use bright green, yellow, or orange royal icing to create those piercing cat eyes that seem to follow you around the room.
6. Mystical Moon Phase Sugar Cookies

Celestial and chic – moon phase cookies are the sophisticated Halloween treat everyone’s talking about. These cosmic beauties tap into the witchy aesthetic that’s huge on Pinterest right now, combining Halloween vibes with boho mystical energy.
Perfect for adult Halloween parties, Wiccan celebrations, or anyone who loves the magical side of the season rather than traditional spooky themes. These cookies work beautifully as gifts for friends who are into astrology, crystals, or moon magic.
Create these using large round cookie cutters in different sizes or use crescent-shaped cutters if you have them. The base can be deep navy blue, black, or even a gorgeous midnight purple. Use white or silver royal icing to create the different moon phases – new moon (all dark), waxing crescent, first quarter, waxing gibbous, full moon (all light), waning gibbous, third quarter, and waning crescent.
7. Vintage Halloween Skull Sugar Cookies
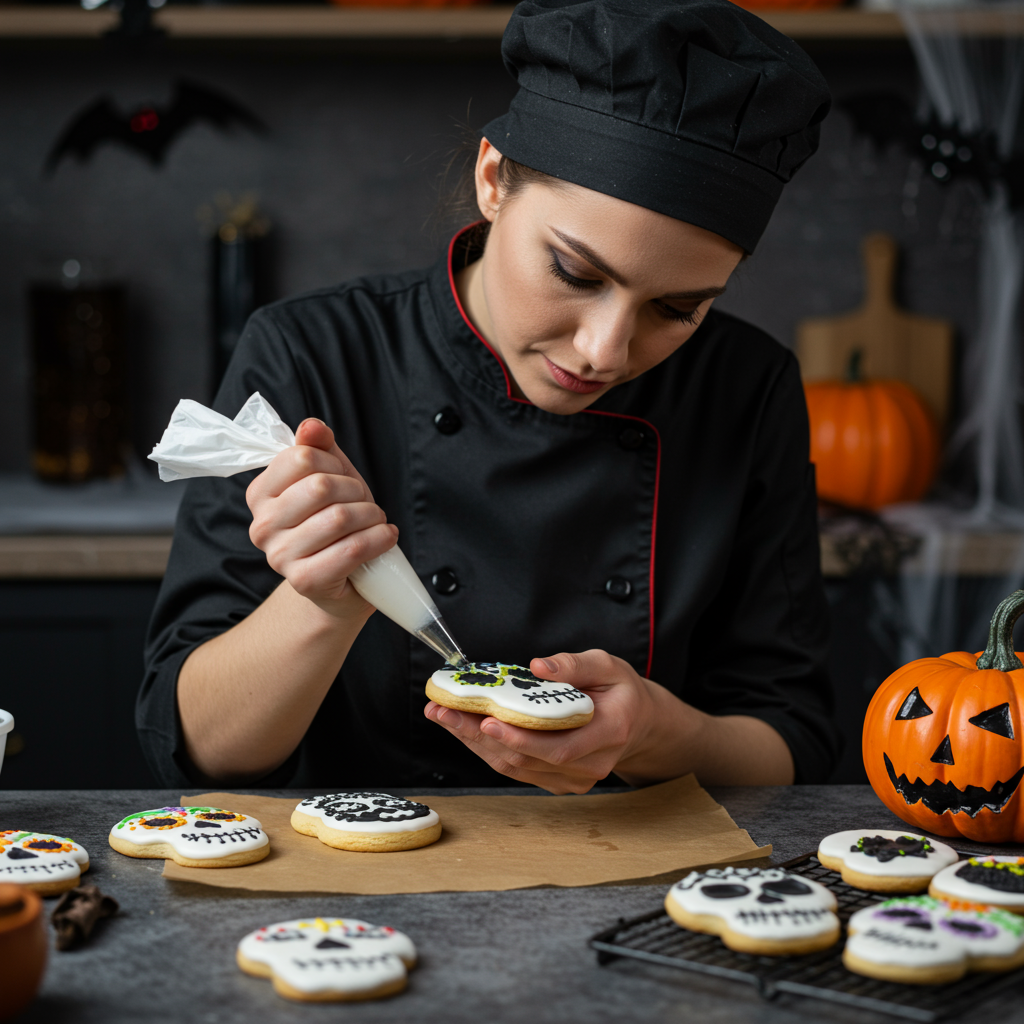
Edgy meets elegant in these sophisticated skull cookies that are taking Halloween decorating to the next level. These aren’t your typical cartoon skulls – think more Day of the Dead meets modern Halloween chic.
These cookies are perfect for adult Halloween parties where you want something with edge but still refined. They work great for gothic-themed events, Halloween weddings, or impressing friends who appreciate darker aesthetics.
Use skull-shaped cookie cutters or create your own template. Start with a white or cream base using royal icing, then add intricate details that make these special. Think delicate black piping for eye sockets and nasal cavity, but keep the overall design clean and sophisticated rather than scary.
8. Spooky Potion Bottle Sugar Cookies
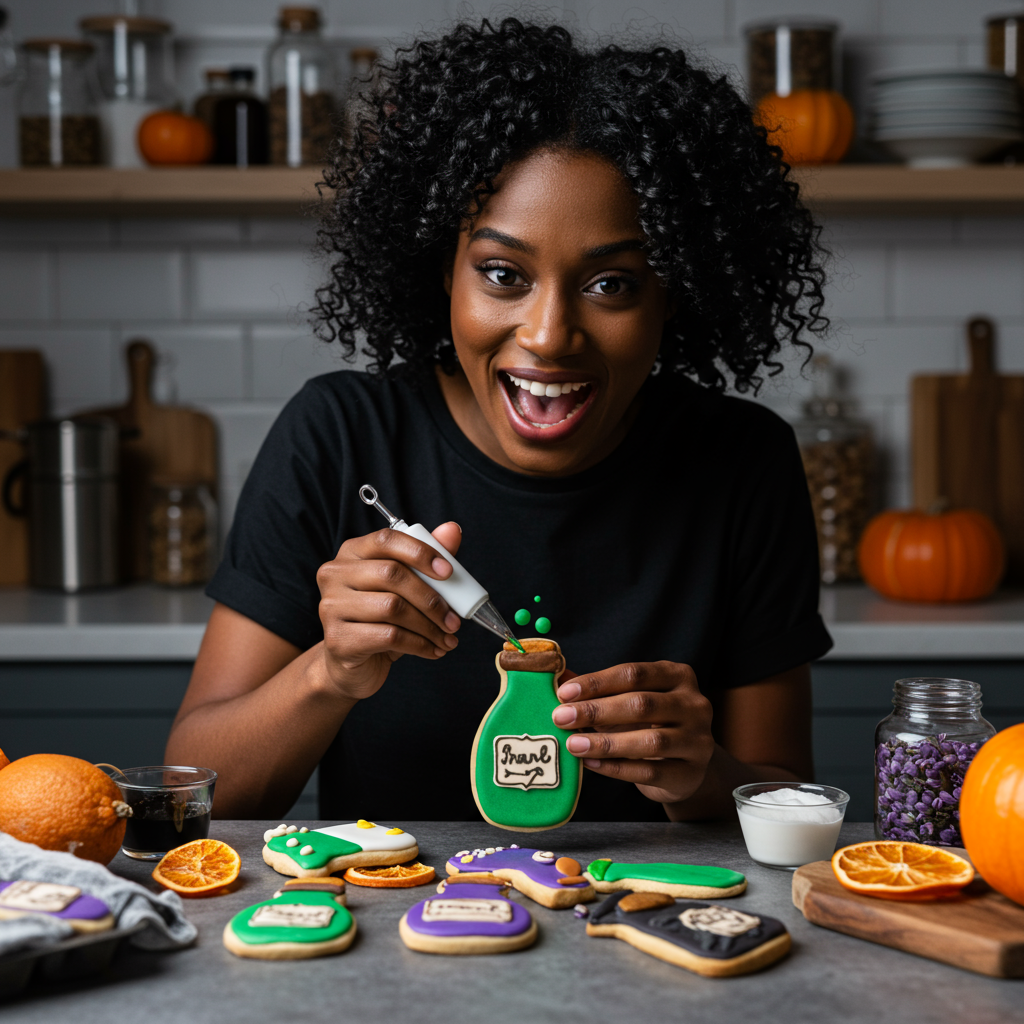
Bubbling with creativity – potion bottle cookies are this year’s most Instagrammable Halloween treat. These magical vessels look like they belong in a witch’s laboratory but taste like pure cookie heaven.
Perfect for Harry Potter fans, anyone hosting a witchy Halloween theme, or bakers who love detailed decorating challenges. These cookies photograph amazingly well and create great conversation starters at parties.
Cut cookies using bottle-shaped cutters or create templates in various potion bottle shapes – think classic round bottles, tall thin vials, or squat cauldron-like jars. Start with your base color (deep green, purple, or amber work beautifully) for the bottle itself.
9. Haunted House Sugar Cookies
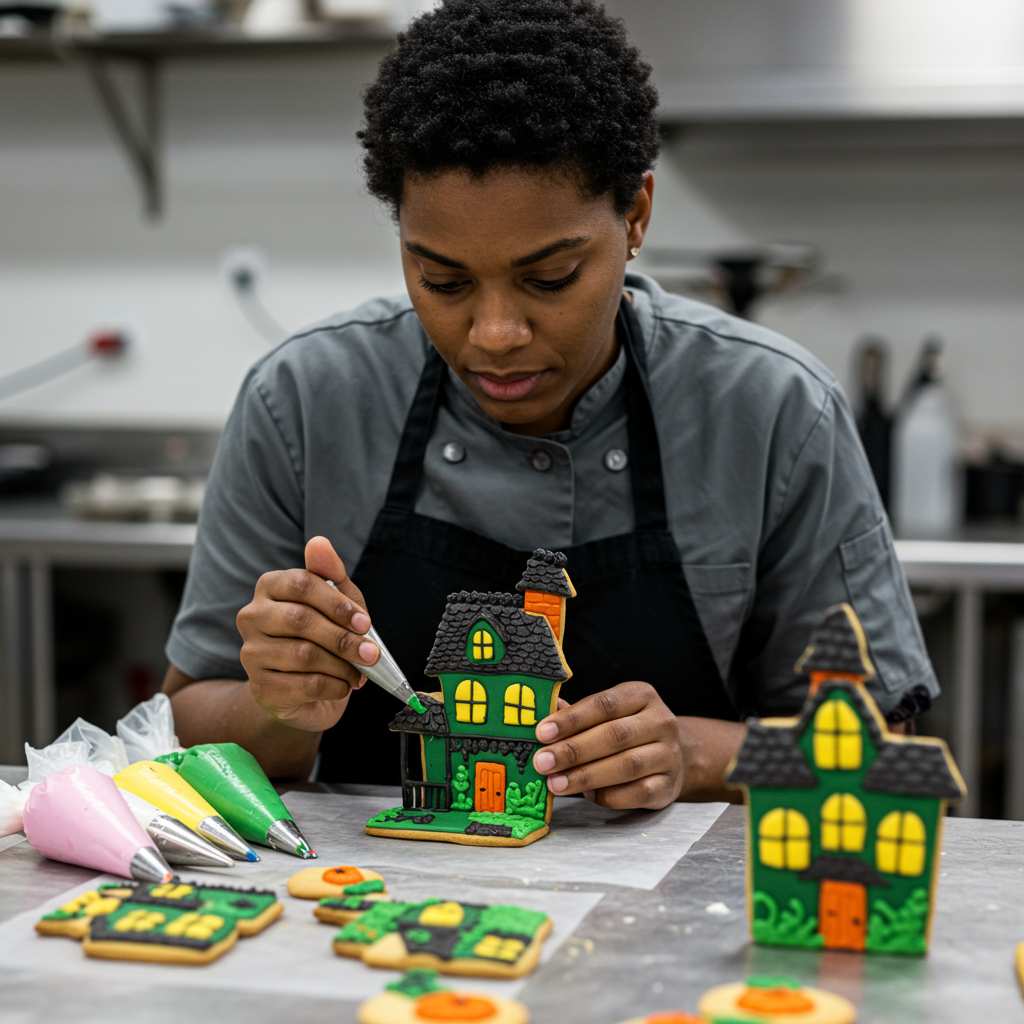
Architectural and atmospheric – haunted house cookies are the showstoppers of Halloween cookie decorating. These detailed designs require some patience but create absolutely stunning results that look like tiny edible artwork.
These cookies are perfect for experienced bakers ready for a challenge, or anyone who wants to create a memorable centerpiece for their Halloween display. They work wonderfully as gifts for neighbors or as the star attraction at baking competitions.
Use house-shaped cookie cutters or create your own templates with different rooflines and architectural details. Start with a dark base – deep gray, black, or even dark purple work well for that spooky abandoned house vibe.
10. Wicked Witch Face Sugar Cookies
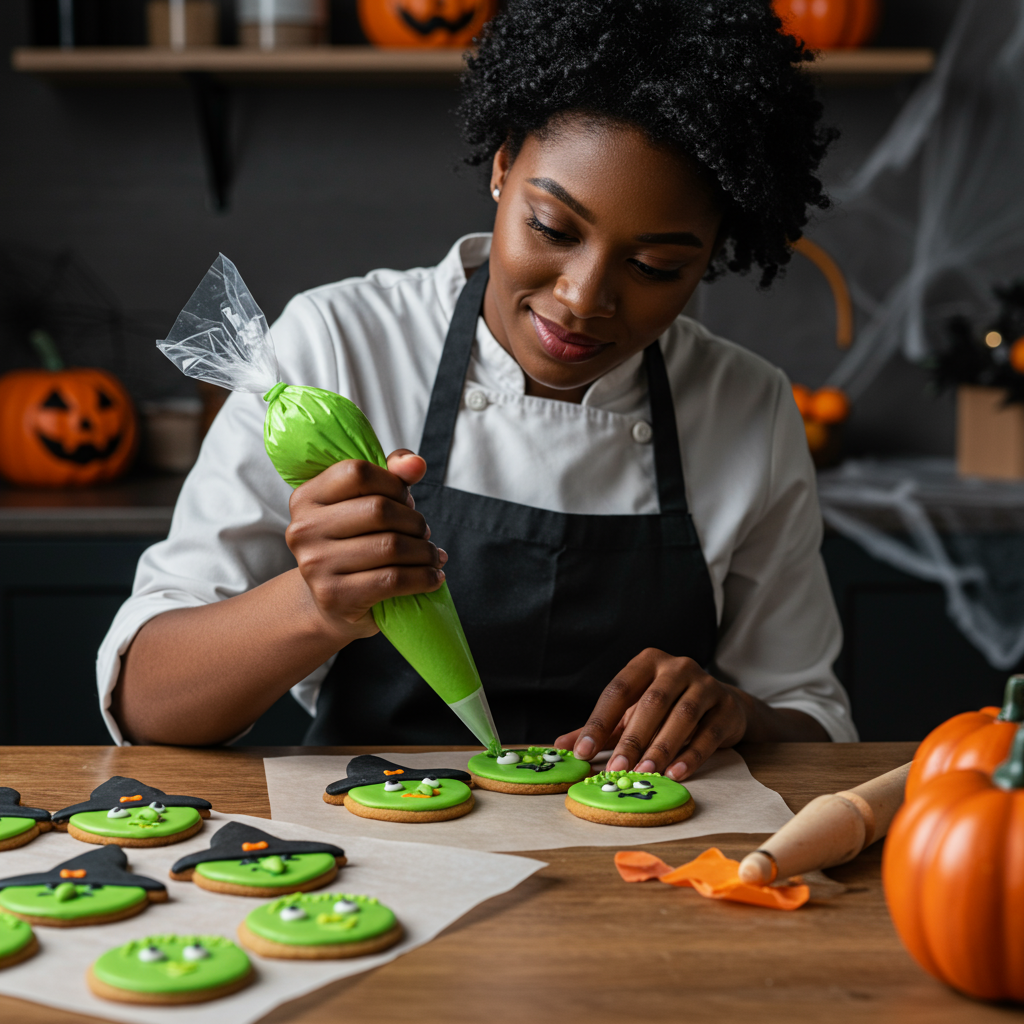
Character-driven and full of personality – witch face cookies are having a major moment thanks to viral TikTok decorating videos. These detailed portraits let you flex your artistic skills while creating genuinely impressive Halloween treats.
Perfect for bakers who love character work and detailed piping, these cookies work great for themed parties, costume contests, or anyone who wants to try portrait cookie decorating. Each cookie becomes a unique character with its own personality.
Start with oval or round cookies as your canvas. Begin with a green base color for classic witch skin, or try other mystical shades like purple or gray. The facial features are where these cookies really shine – use black royal icing for dramatic eyes, add wrinkles and expression lines for character, and don’t forget that iconic pointed nose.
11. Candy Corn Inspired Sugar Cookies
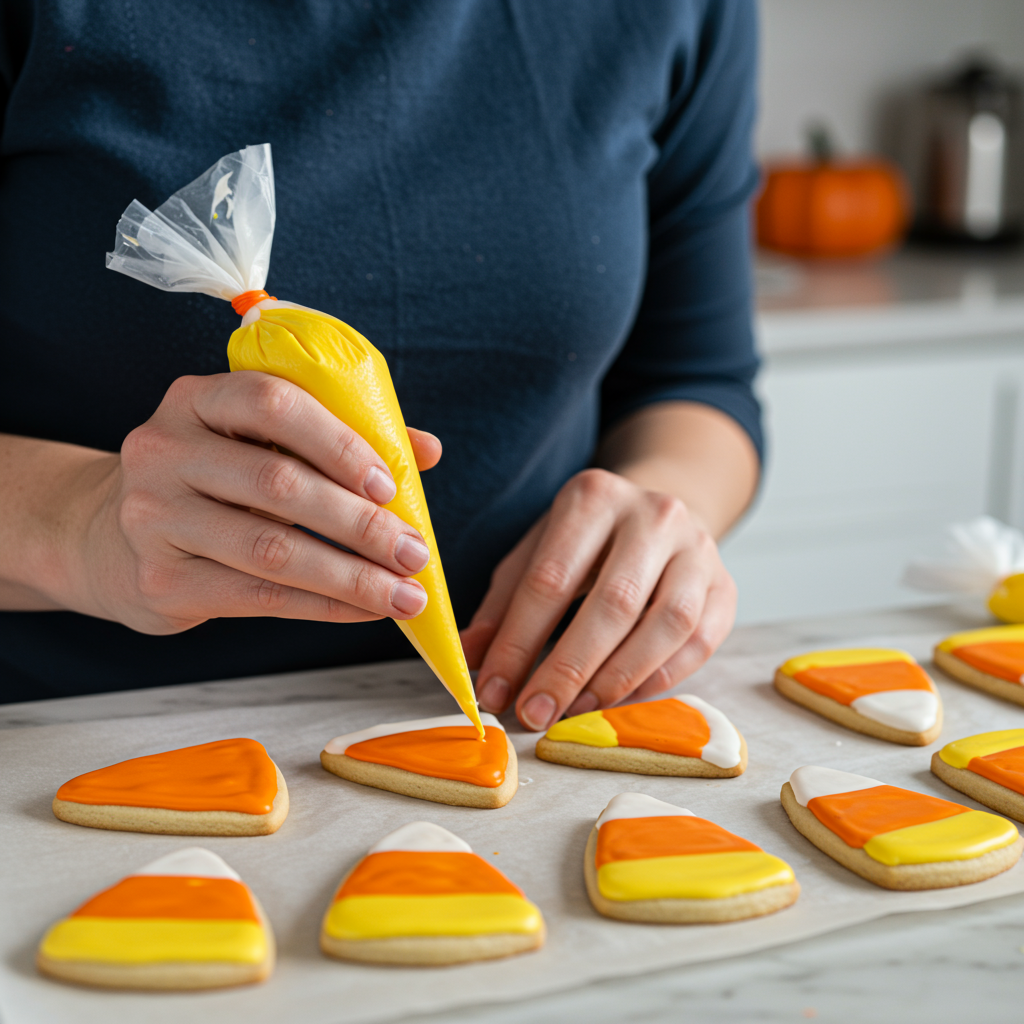
Sweet and nostalgic – candy corn cookies are the comfort food of Halloween treats. These tri-colored beauties capture that classic Halloween candy we all have feelings about, but in delicious sugar cookie form that everyone actually wants to eat.
Perfect for traditionalists who love classic Halloween imagery, these cookies work great for family gatherings, school parties, or anyone who wants that retro Halloween vibe. They’re also excellent for beginners since the design is straightforward but still looks polished.
Use triangle or candy corn-shaped cutters to get that iconic shape. The traditional approach uses three distinct sections of royal icing – white for the tip, orange for the middle, and yellow for the base. Work section by section, letting each color set slightly before adding the next to keep clean lines.
12. Halloween Tree Silhouette Sugar Cookies
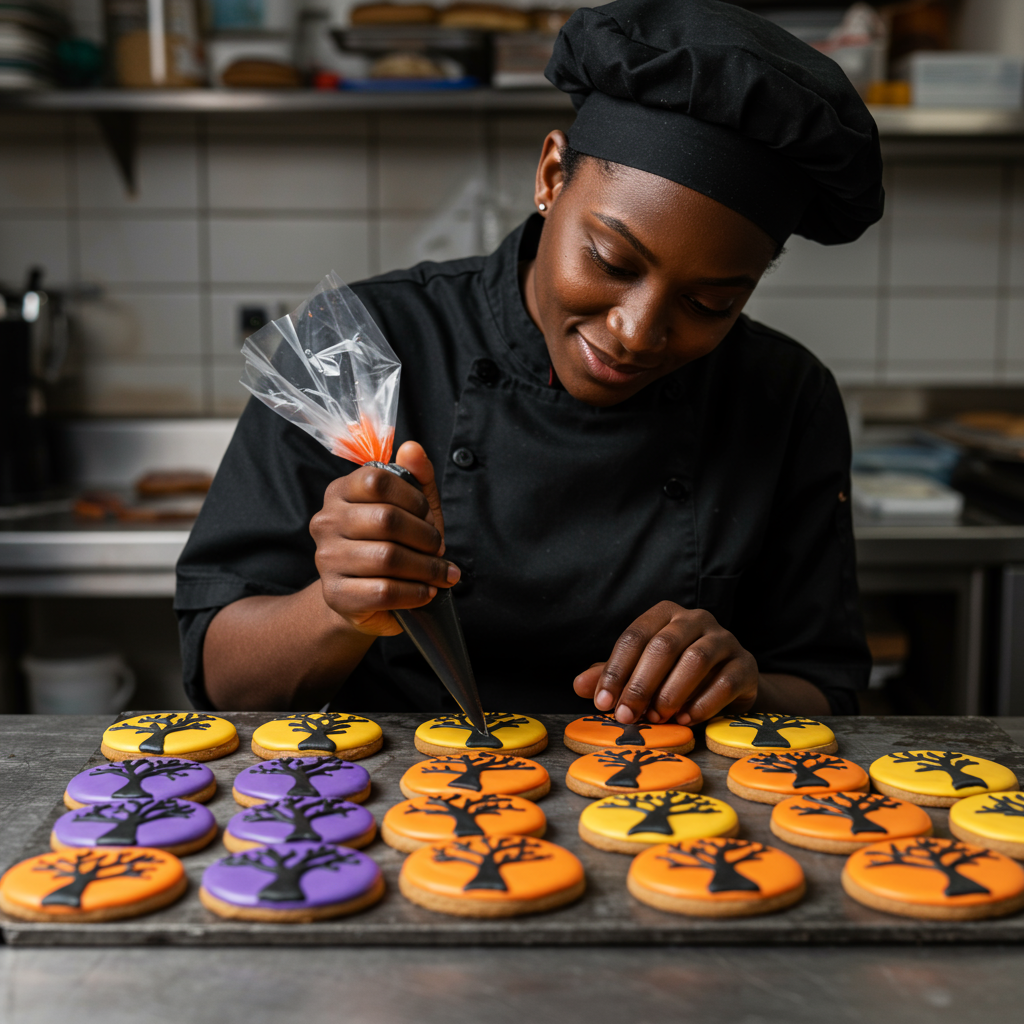
Dramatic and artistic – bare tree cookies are the sophisticated Halloween statement everyone’s loving this season. These stark, beautiful silhouettes bring that perfect eerie autumn atmosphere to your cookie collection without being too cute or too scary.
These cookies appeal to minimalists who want Halloween elegance, perfect for adult parties or anyone who prefers subtle seasonal decorating. They also work beautifully as part of larger Halloween displays or cookie gift boxes.
Cut cookies using tree-shaped cutters or create your own templates featuring gnarled bare branches. The magic is in the contrast – use dark royal icing (black, deep brown, or charcoal gray) for the tree against a lighter background, or create dramatic sunset/moonrise backgrounds using orange, purple, or yellow icing.
Pro Tips From Industry Experts
Getting your Halloween sugar cookies to look professionally decorated comes down to mastering a few key techniques that separate amateur bakers from the pros. The biggest mistake people make is rushing the drying process – each layer of royal icing needs to be completely set before adding details, which usually takes 4-6 hours depending on humidity.
Money-saving alternatives that work just as well include using regular food coloring instead of gel (you’ll just need more), making your own royal icing instead of buying mix, and creating templates from cardboard instead of buying every cookie cutter shape. For time-saving hacks, make your cookie dough up to three days ahead and freeze cut shapes on baking sheets before baking – they’ll keep their shape better and save precious decorating day time.
How to Choose The Right Halloween Cookie Design For You
Consider your skill level honestly when picking which designs to tackle first. If you’re new to royal icing, start with simple shapes like ghosts or jack-o’-lanterns that forgive imperfections and don’t require precise detail work. More experienced bakers can dive into complex designs like haunted houses or detailed witch faces that showcase advanced piping skills.
Budget and time constraints matter too – some designs require special tools, multiple food coloring colors, or hours of detailed work, while others use basic supplies you probably already have. Think about who you’re making these for and what occasion they’re serving. Cute designs work better for kids’ parties, while sophisticated options like moon phases or tree silhouettes suit adult gatherings perfectly.
Trending Halloween Cookie Styles This Season
Instagram and TikTok are absolutely obsessed with “elevated Halloween” cookies this year – think sophisticated color palettes, metallic accents, and designs that wouldn’t look out of place at a high-end bakery. Influencers like Semicolon Sweets and The Hutch Oven are showcasing gorgeous black and gold combinations, while celebrity baker Christina Tosi has been spotted making minimalist Halloween designs that focus on perfect technique over busy decorations.
The gothic romance trend is huge right now, featuring deep jewel tones like burgundy, forest green, and midnight purple instead of traditional orange and black. Texture is having a major moment too – bakers are using everything from edible gold leaf to pearl dust to create cookies that look like they belong in a museum rather than a cookie jar.
Coming trends to watch include holographic and iridescent effects using special luster dusts, 3D elements created with modeling chocolate, and “spooky cute” hybrid designs that blend kawaii aesthetics with Halloween themes. The biggest shift is toward Instagram-worthy presentations with elaborate styling, multiple cookie designs in coordinated color schemes, and professional photography setups that make home bakers look like commercial operations.
Maintenance and Care Tips
Keep your decorated Halloween cookies looking perfect by storing them properly once the royal icing is completely dry. Layer them between parchment paper in airtight containers, and they’ll stay fresh for up to a week at room temperature. Avoid refrigerating decorated cookies since condensation can make royal icing weep and colors can bleed.
Daily care is minimal once they’re properly dried and stored, but weekly checks help catch any issues early. Look for any softening edges or color changes that might indicate moisture problems. If you’re making these ahead for a party, plan to finish decorating at least 24 hours before the event to allow complete drying time.
Refresh cookies that have lost their crispness by placing them in a 200°F oven for 3-5 minutes – this works great for plain cookies but avoid doing this with decorated ones since it can damage the icing. For long-term storage, freeze undecorated baked cookies for up to three months, or freeze decorated cookies in single layers on baking sheets before transferring to containers once solid.
Frequently Asked Questions
Start with simple jack-o’-lantern or ghost cookies using basic round cutters you probably already own. These designs are forgiving, don’t require precise piping skills, and still look impressively Halloween-themed. Focus on getting your royal icing consistency right with these easier shapes before moving to complex designs.
Basic supplies (food coloring, piping bags, tips, and ingredients) typically cost $25-40 for your first batch, but you’ll reuse most items. Professional gel food colors, quality cookie cutters, and royal icing ingredients give you the best results. Budget-friendly alternatives include regular food coloring and homemade royal icing from powdered sugar and egg whites.
Plan on 15-30 minutes per cookie for detailed designs, plus 4-6 hours drying time between layers. Simple designs like solid color floods take 5-10 minutes each. Factor in prep time for mixing colors and filling piping bags. Most bakers spread cookie decorating over 2-3 days: bake, base coat, then add details.
Absolutely! Use household items creatively – cut templates from cardboard, use plastic bags with corners snipped as piping bags, and create designs with toothpicks and spoons. While professional tools make things easier, creativity and patience matter more than expensive equipment for beautiful homemade Halloween cookies.
Ready to Create Your Halloween Cookie Magic?
These 12 Halloween sugar cookie designs give you everything from beginner-friendly options to showstopping masterpieces that’ll make you the star of any Halloween celebration. Whether you’re going for cute and friendly or spooky and sophisticated, there’s a perfect design here that matches your style and skill level.
The best part about homemade Halloween cookies is that each one tells a story and creates memories. Your jack-o’-lanterns might have crooked smiles, your ghosts might be slightly lopsided, and your witch hats might lean a little – but that’s what makes them special and uniquely yours